MIDIOS
MIDIOS is a configuration tool to fully utilize the Akai Midimix Controller on IOS devices. It provides
- Visual feedback on the controller's button LEDs
- Two sets of independent controller configurations accessible by using bank Left and Right buttons
- Completely free programmable knobs, buttons and faders
- Special functions like toggle buttons, radio buttons or toggle groups
HOW IT WORKS
The Akai Midimix controller is mainly designed for Ableton live. The LEDs therefore need a feedback signal from the software to be lit.

MIDIOS uses Streambyter, a free programmable midi app to change the LEDs in response to midi signals from the midimix controller. Additionally it features a mapping service that sends different Midi messages depending on wich bank is selected.
The Streambyter scripts can be generated using the MIDIOS configurator to define different button behaviors like toggle buttons. For more details go to CONFIGURATION below.
BASIC SETUP
1. Midimix Configuration
MIDIOS needs a specific midimix setup to properly map each knob, button and fader. Download this midimix configuration and install it on your midimix. If you don't know how to edit a midimix configuration you can lookup this tutorial.
2. Install StreamByter
Get the free StreamByter app from the app store and install it on your IOS device.
3. Midi Routing
In addition to StreamByter we need an app that routes the midi signals from the midimix to streambyter, and from streambyter to the music apps.
Alternative 1 - MidiMittr
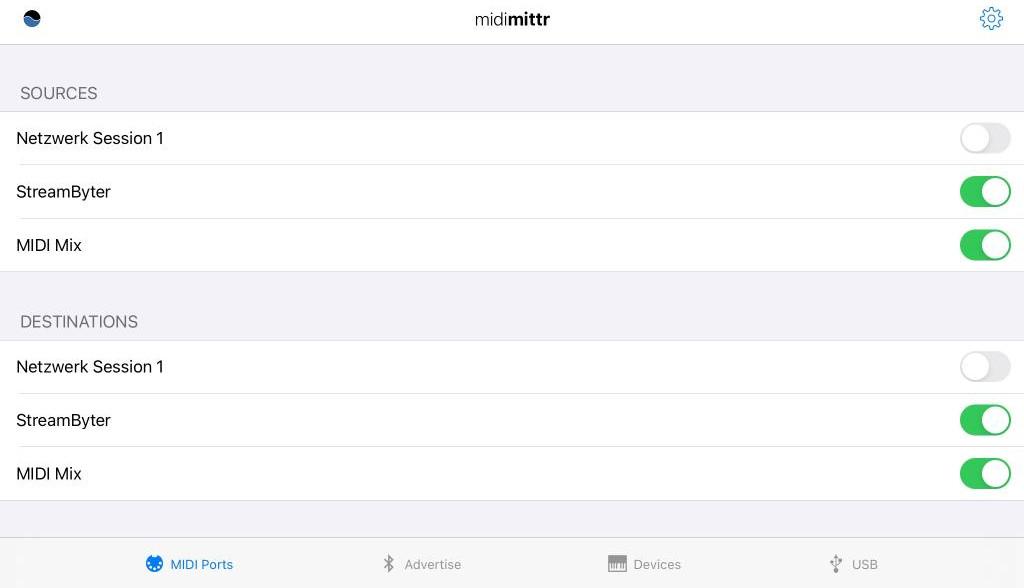
A simple and free solution is MidiMittr. After installation, start streambyter and connect your midimix. Now start MidiMittr, open Midi Ports and activate Midimix and StreamByter as sources and destinations. Deactivate all other devices.
Alternative 2 - Audiobus 3
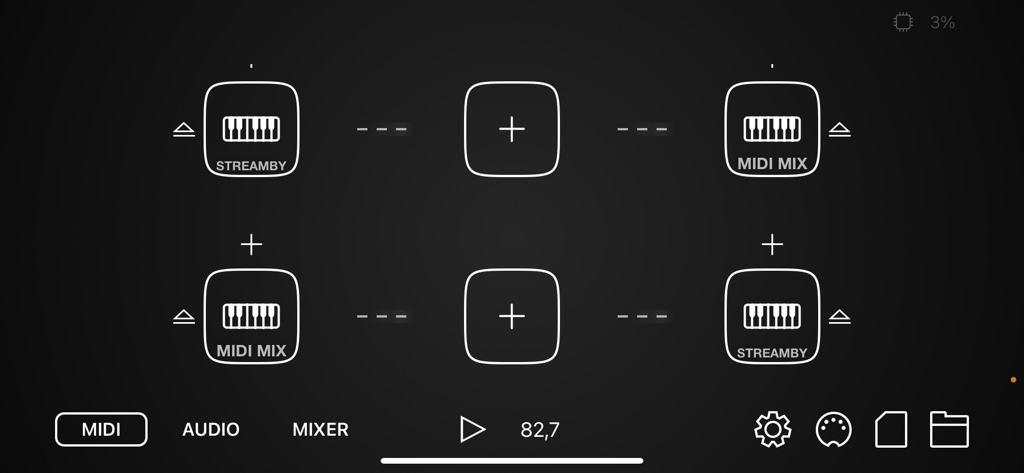
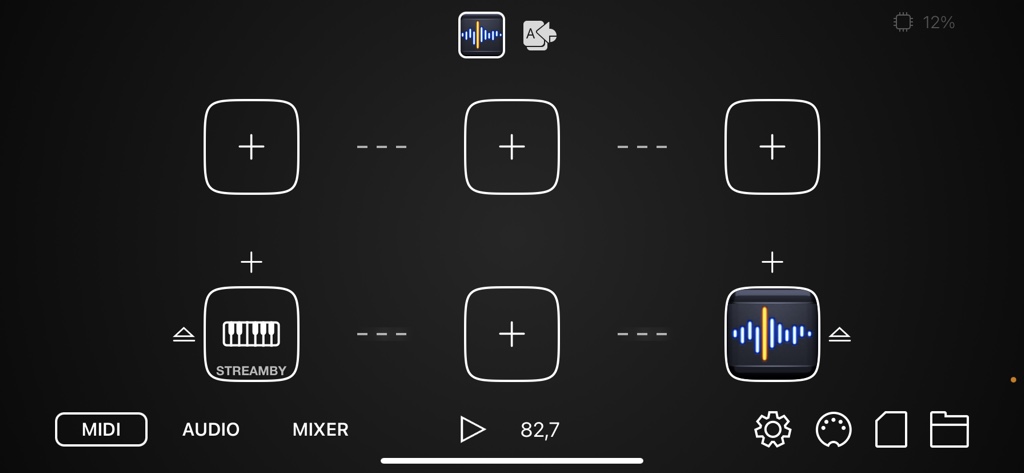
Audiobus 3 and other AUv3 mixing apps like AUM are also easily set up for routing. These are paid apps, but most IPad musicians have them anyway. First connect your Midimix and start Streambyter. Start Audiubus and switch to the midi page. Add a new input (left side +) and choose Midimix from the "Sytem" ressources. Then open the output (right side +) and select Streambyter, again from the "System" devices. Do the same vice versa, so that midi data are routed in both directions. It should now look like this:
4. Testing
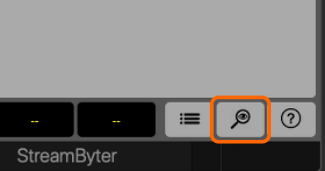
You can now do a first test of the setup. Switch to StreamByter and open the Midi Event Monitor (small magnifier icon in the bottom right).
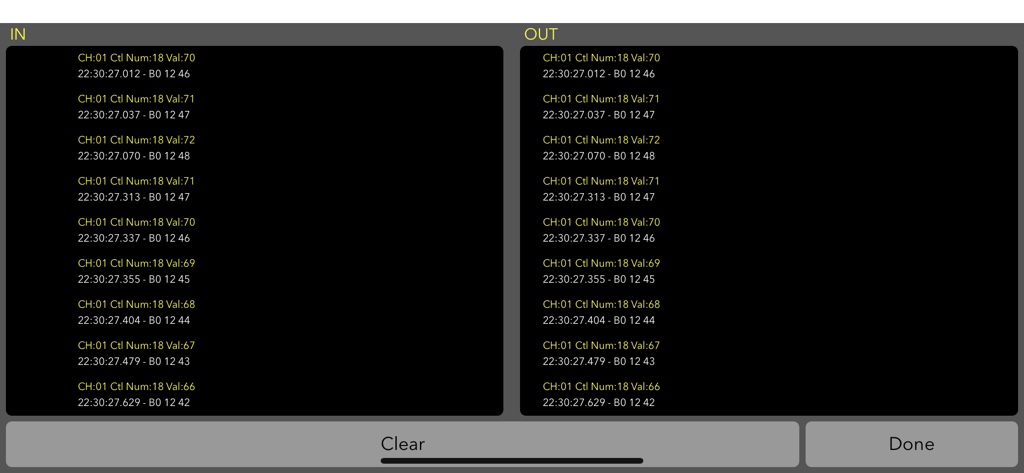
If you turn a knob on your midimix, you should see a stream of midi signals in the input and output windows:
5. App Midi Settings
As a last step, we have to make sure the target app receives Midi data from streambyter but not from Midimix. If you set up the routing using Audibus (or AUM etc.), just add another Midi routing from StreamByter to the traget app. In this example I added Sunrizer synth to audiobus (as audio unit), than routed StreamByter to Sunrizer on the midi tab:
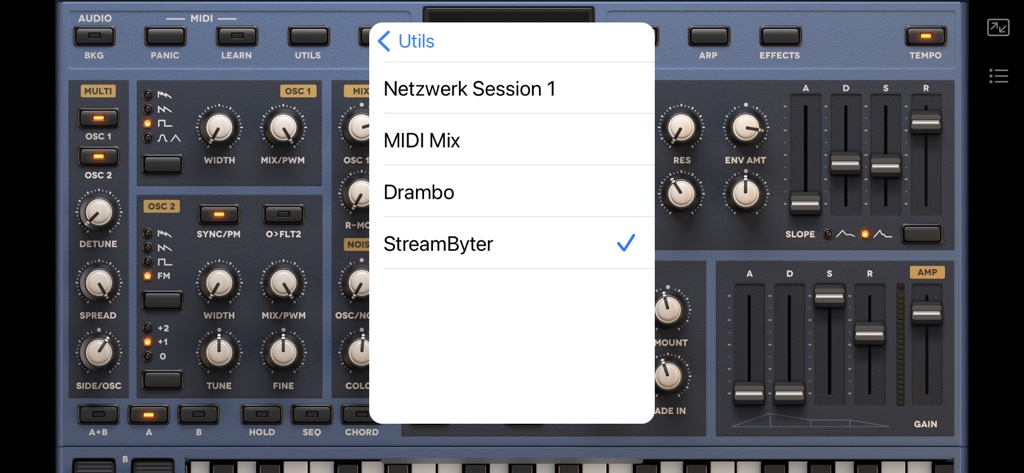
If you do not use an AUv3 mixing/routing app, the target app has to provide an option to select midi sources (which fortunately a lot apps do). In Sunrizer for example this option is "Midi Inputs" in the utils menu (with StreamByter selected and Midimix deselected):
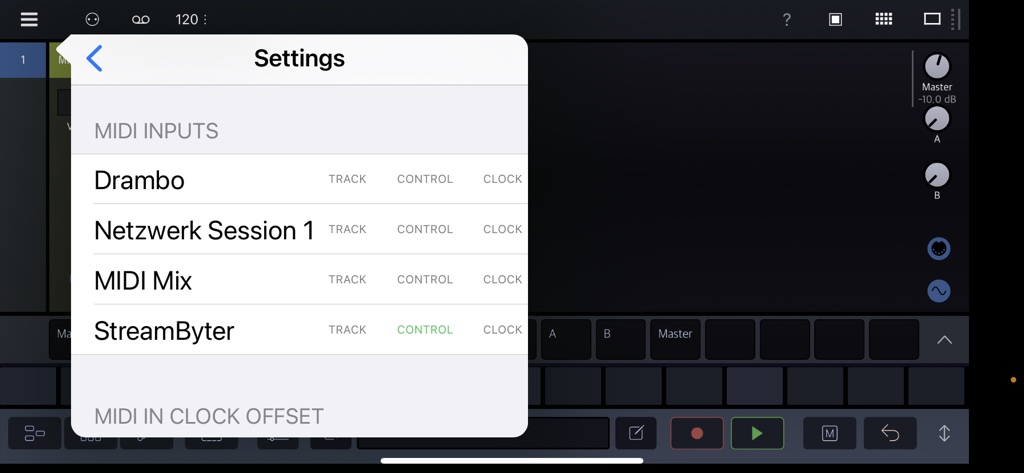
This is another example from Drambo. Here StreamByter is routed as control and Midimix not:
CONFIGURATION
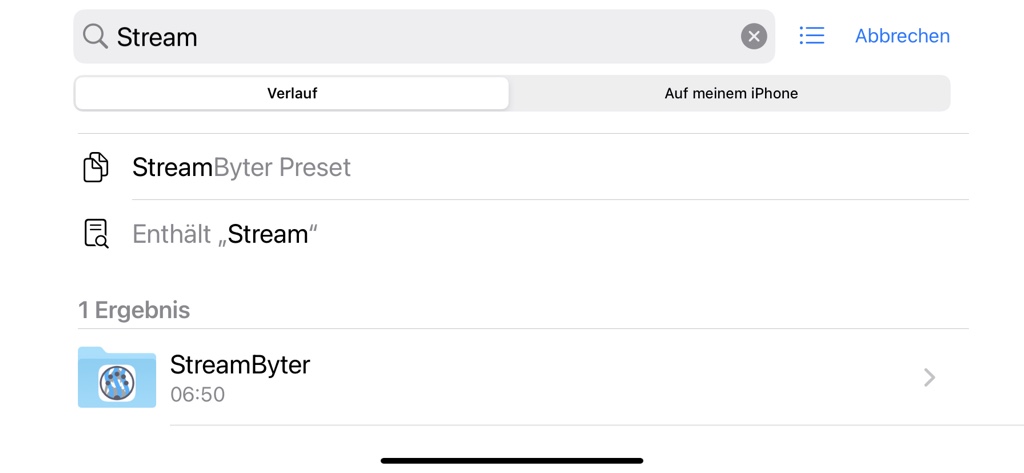
Once the basic routing is set up, you can add a configuration script to StreamByter. Let's try this with this example script. If you are on your target Ipad/Iphone, just click the link and save the file to the "StreamByter" folder on your device. From your PC or Mac, download the file and copy it to the "StreamByter" folder on your I-device with your favorite file exchange method. I use a Nextcloud server, but it works with Airdrop, dropbox etc. as well. Note, that it does not work with Google Drive, as google changes the file extension.
If you cannot find the "StreamByter" folder, it is because it is initally empty. Use the Search in this case and it will appear there.
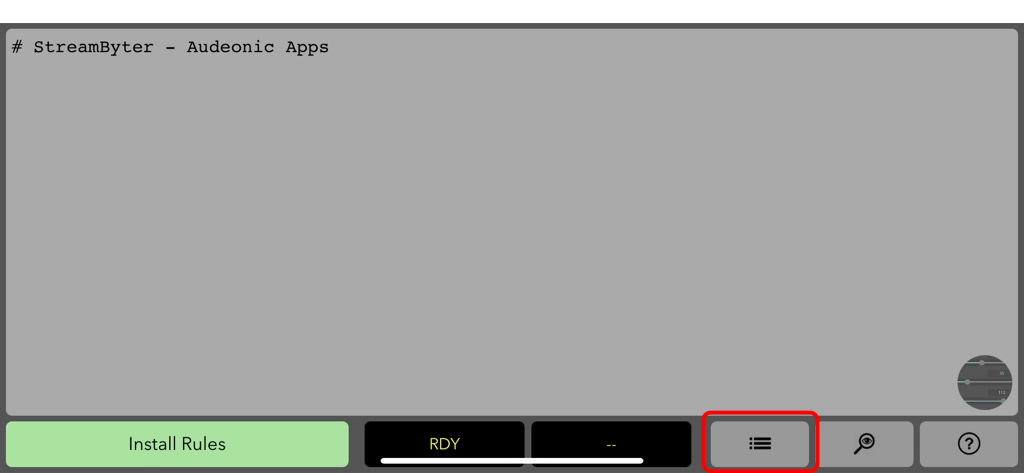
Switch to the StreamByter App and open the preset menu (3 lines icon in the lower left):
You should see the just imported "midimix example" script. Select it and click on "Load":

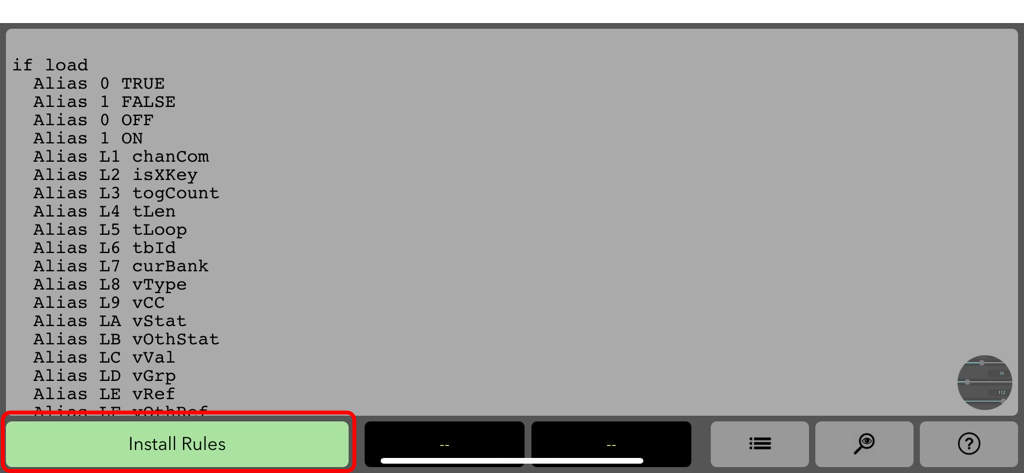
Finally hit "Install" on the StreamByter main screen.
If your midimix is connected to StreamByter, you should see the LEDs blinking up. (If not, just connect as described in Basic Setup and hit install again). Your midimix buttons should now behave as shown by the colors:

the labels show how I assigned the layout to drambo using midi learn.
Congrats, you did it! You can now start creating your own configurations with the MIDIOS CONFIGURATOR